Add and edit content for each test group
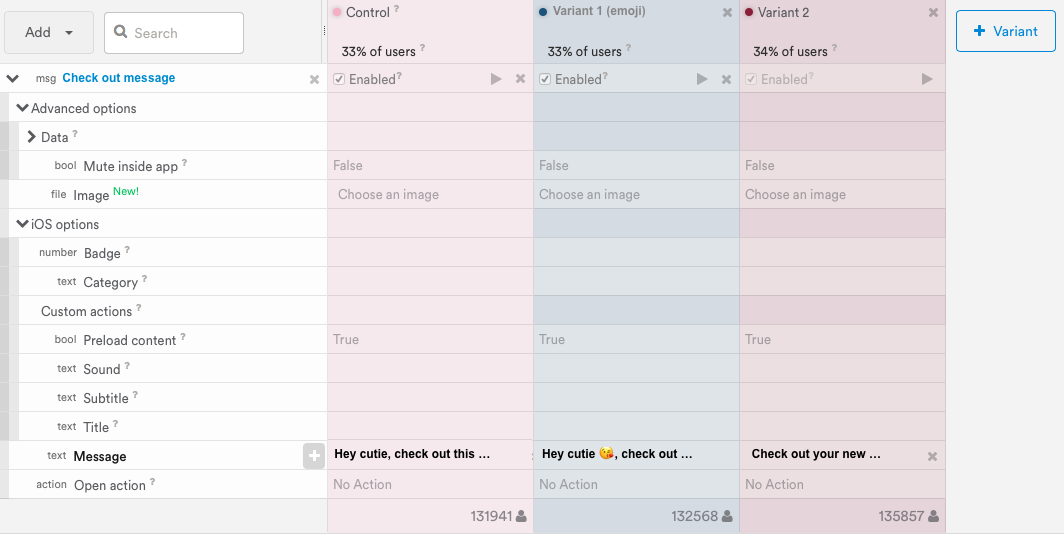
You can add and edit your test's content using the variant table at the bottom of the A/B test editor. Every A/B test has a control and at least one variant by default. Add your content to the A/B test, alter the settings for each group, then preview your changes before publishing your test.

Add or delete content in your test
If you create your test from the message composer, your variant table will be pre-loaded with the content from your message. You can also select messages or variables to test directly from the variant table in the A/B test composer.
Add a variable or message to your test

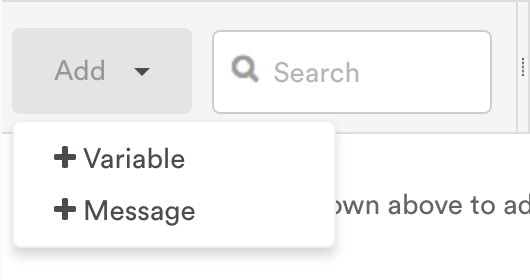
Use the Add dropdown in the upper left corner of the table to add variables or messages to the A/B test.
You can add up to 16 variants (including the control). This limit helps you build a successful test — with too many variants, it's difficult to reach a statistically significant conclusion.
View and delete variables or messages in your test

The white column at the very left of the table (under the Add dropdown) is where each variable or message in your test is listed. Remove variables from the test by clicking the X next to the variable.
Segment a variable or other experience change

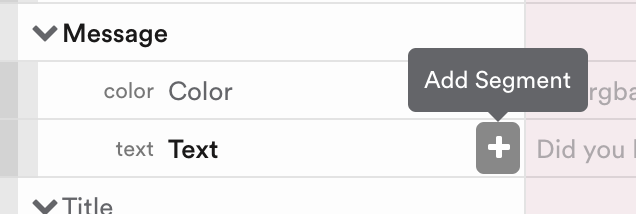
To add segmentation to your test variable, hover over the variable, then click the + button next to the variable. This allows you to make changes in the test for only select users.
Edit variant and control settings
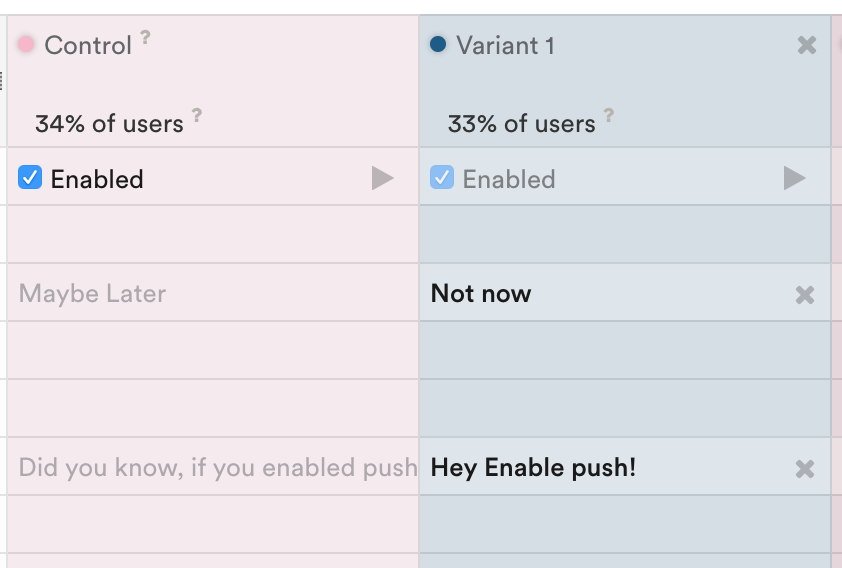
To edit a value in the control or variant columns, click the value in the table to change it.

Editing values in the Control column affects the default experience for your A/B test. Leanplum compares the stats from each variant group to the control group to assess your results. If you are testing a variable, the control will be the override value on the Variables dashboard. If no override has been set, it defaults to the default value in the code.
The Variant is the changed message, variable, or UI that you are testing against your control group. For example, you might test a simple control message against a variant message with emojis added. Messages tend to have more different settings than variables and other changes. You can edit text, colors, button actions, and other settings for each test group.
It's usually best to only test one (or two) changes between each test group — if there are too many differences between your control and variants, it will be impossible to know which change caused any significant results.
Enable content
The "Enabled" checkbox determines whether your message or UI is active for a given test group. If the box is checked, the message or other experience will be sent to that test group. If the box is unchecked, nothing will be sent to that group of users.

For example, you might uncheck the control group's "Enabled" box if you wanted to test the effects of sending a message VS not sending one.
Add another variant
You can add additional variants to test different versions of your experience change. By default, your test will have one control and one variant group. Click the + Variant button to create a new variant column. Each variant’s metrics will only be compared to the control group to test for statistical significance and success.

There is no limit to the number of variants that you can add, but adding more variants can make it take longer for your test to reach statistical significance. Adding variants can also change your test's distribution, so double check your settings after adding a new variant.
Preview variants and user estimates
Preview on a device
If you are running the app in debug mode on a debug device, you can force yourself into a variant or control experience for testing. Click the eye icon in the bottom row of the variant you want to see, and the device icon will appear. Open the app on the selected device and you should be served the selected option. See Preview A/B test on a device for more.

User estimate for each variant
The count at the bottom of the variant is an estimate of the number of users in each variant. This count doesn't take impression criteria into account, which only affects the analytics.

Once you are satisfied with your test setup, you can click the "Start" or “Publish” button in the upper right corner of the A/B test editor. This is will start the test and allow users to see the experience of their assigned variant.
Updated about 4 years ago
